Guide
How to Make a Wax Seal: With a Stamp, Without One, or With Hot Glue
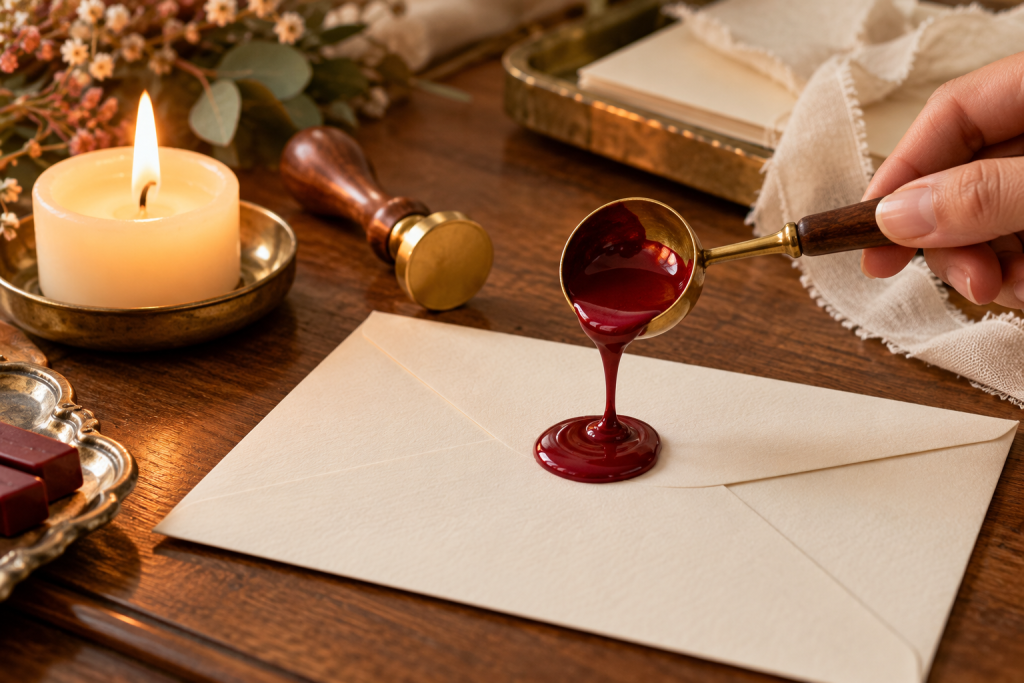
To make a wax seal, melt sealing wax, drop a small pool of it onto your envelope or card, and press a stamp into the pool until the wax sets. That is the whole method. Everything else is a choice of tools: a brass stamp is the easiest and cleanest route, but you can improvise one from a coin, a button or any small object with a raised design, and you can swap the melting spoon for a glue gun. This guide covers each route, says plainly where the shortcuts fall short, and shows when ordering a custom stamp is the better use of your time.
How to make a wax seal with a stamp
A proper wax seal stamp is a brass head, often on a wooden handle, with the design engraved in reverse so it prints the right way round in the wax. It gives the sharpest detail and the most repeatable result, which is why most people end up here even if they start with a coin.
The short version
- Melt sealing wax in a melting spoon over a candle, or load a wax stick into a low-temperature glue gun.
- Pour or press out a pool of wax onto the paper. Keep it roughly the size of the stamp head.
- Press the stamp straight down, hold it still while the wax cools, then lift it straight up.
Where to go for the full tutorial
Temperature, timing, wax amounts and fixing a smudged seal all have their own walkthrough in our guide to how to use a wax seal stamp. If you already own a stamp, start there. If you are still shopping, browse our wax seal stamps, including ready-made initial wax seal stamps.
How to make a wax seal without a stamp
You can get a recognizable seal without buying anything made for the job. What you need is a small object with a clear relief design on one face: something that stands up from the surface so it leaves a crisp impression in soft wax. Results vary a lot from object to object, so treat the first seal as a test and do it on scrap paper.
Objects that can work
- Coins. Many coins carry fine relief on both sides. Pick a clean one with a clear design and expect a shallow impression.
- Buttons. Metal and hard plastic buttons with a raised pattern are a popular stand-in. Flat or soft buttons will not leave much behind.
- Jewelry and charms. A pendant, an earring back with a motif or a small charm can make a decorative impression.
- Cookie or craft stamps with a firm, raised design. Hard materials work better than soft rubber, which can warp or stick.
- Carved or molded heads. Some crafters carve a design into oven-bake clay or similar material, then let it cure fully before using it. Expect a learning curve.
Tips that help with any improvised stamp
- Let the wax lose its glossy, liquid look before pressing, so it holds the shape instead of flowing back over the design.
- A very light touch of cooking oil or a dab of soapy water on the object can help it release. Wipe it back off afterward, and test first.
- Press straight down and lift straight up. Twisting smears the edges.
- Do not expect a coin or button to match an engraved brass head. Fine lettering in particular rarely survives.
Melted wax is hot. Work on a heat-safe surface, keep the flame away from loose paper and sleeves, and keep children and pets clear of the candle.
Can you make a wax seal with hot glue or crayons?
Yes, both work as stand-ins, and both are different from real sealing wax. They are fine for a craft project, a scrapbook page or a practice run. They are not what you want for an invitation you care about.
Hot glue
Ordinary hot glue sticks melt and set differently from sealing wax. They tend to stay softer and more flexible, they can look dull or stringy, and the surface may stay slightly tacky. If you like the glue gun method, use sticks made for it. Our sealing wax sticks are made to run through a low-temperature glue gun and set to a firm, glossy finish, which is the look most people are after. Use a gun with a low-temperature setting if you can, and check the instructions that come with your wax.
Crayons
Crayon wax can melt into a colored pool and take an impression, so it is a cheap way to practice. The trade-offs are real, though. Crayon wax is not made to bond to paper or hold a seal, the color can look flat and chalky, and the finish can smear or flake. It is also not meant to be heated for crafts, so keep the heat gentle and skip it around children unless an adult handles the flame.
How they compare to sealing wax
Sealing wax is formulated to melt cleanly, grip paper, take fine detail and set hard with a glossy surface. Glue and crayons are borrowing from other jobs. If the seal is going on a wedding invitation, a letter or a gift, the extra few dollars for the right wax pay for themselves in how the seal looks and behaves in the mail.
How to make your own wax seal stamp vs ordering a custom one
If you want a personal design, there are two honest routes: build a stamp yourself, or have an engraved one made.
Making your own stamp
The DIY options are mostly hand-carved clay or similar material, or a found object with a design you like. They are inexpensive and satisfying to make. They also give you a one-of-a-kind look with some wobble in it, and the edges and lettering will rarely come out sharp. Online generators can help you plan a layout or lettering, but a digital preview does not make a physical stamp. If you want text to read clearly, remember that stamp designs are mirrored so the wax reads correctly on paper.
Ordering a custom wax seal stamp
If you want a crisp monogram, a wedding date or your business logo that comes out the same every time, a custom wax seal stamp is the route that actually delivers. Here is how it works at WaxSealStore:
- You upload your own artwork (PNG, JPG, PDF or SVG) or pick one of our designs and type your initials, names and a date.
- We email you a proof, usually within 2 business days, and make nothing until you approve it.
- The design is engraved mirrored on a brass head, so the seal reads the right way round on paper.
- It is made to order. The product page says about 2 to 4 weeks to the US after you approve your proof, and shipping is free.
Timing and shipping details are on our shipping page. If you need a seal quickly, a ready-made stamp from the initial wax seal stamps collection ships sooner than a made-to-order one. A reasonable plan is to use a found object for practice, then order the real stamp once you know what you want it to say.
Choosing wax for DIY seals
The wax matters as much as the stamp. Pick the form that fits how you plan to melt it.
Sticks for glue guns
Glue gun sticks are the tidiest option for beginners and for making a lot of seals. You squeeze out a controlled amount, so there is less mess than with a spoon. See our sealing wax sticks.
Beads for spoons and melting pots
Beads melt in a spoon over a candle, or in a melting pot, and are easy to mix between colors. They suit people who like the traditional method and want to blend shades. Browse sealing wax beads.
Everything in one place
For a full overview of colors and finishes, including metallics, start from sealing wax. A wax seal kit bundles a stamp, wax and a melting tool if you would rather not buy the parts one by one.
FAQ
For a real seal, you need sealing wax and something to press into it. A brass wax seal stamp is the standard choice. In a pinch, a coin, a metal button, a charm or any small object with a raised design can leave an impression. Wax stickers are another option if you only want the look and not the melting.
Yes. Melt sealing wax, place a pool of it on the paper, and press a stamp or a relief object into it until it sets. You can make your own impression with a found object, or order a custom stamp engraved with your own initials or logo for a sharper, repeatable result.
You can, with caveats. Regular hot glue stays softer and more flexible than sealing wax and may look dull or feel tacky. Wax sticks made for glue guns give a firmer, glossier seal and work in a low-temperature gun. For anything important, use real sealing wax.
Place sealing wax beads in a metal melting spoon and hold it over a candle flame, keeping the spoon away from the wick, until the wax turns liquid. Pour the pool onto the paper, press your stamp straight down, wait for the wax to set, then lift straight up. Work on a heat-safe surface and keep paper and sleeves clear of the flame.